




A patch that looks brilliant on screen can turn into a blurry blob once it’s stitched onto fabric. Just ask anyone who has spotted the mistake after ordering thousands of pieces. The good news? Most production problems are easy to avoid when you design with the machine in mind.
This guide shows you how to make custom patches for clothing, step by step, from choosing a patch type to approving the final sample. Whether you run a brand, sell online, or buy for retail, you’ll find practical tips to get it right the first time.
Before You Start: Purpose, Placement and Budget
Three quick questions will save you a lot of headaches later:
- What is it for? Resale merch, uniforms, giveaways, and collaboration drops all have different needs.
- Where will it go? A cap, a jacket chest, and a back panel call for very different sizes and levels of detail.
- What are your quantity and budget? Both influence which material and technique make sense.
Answer these first, and every later decision gets easier.
Step 1: Choose the Right Patch Type
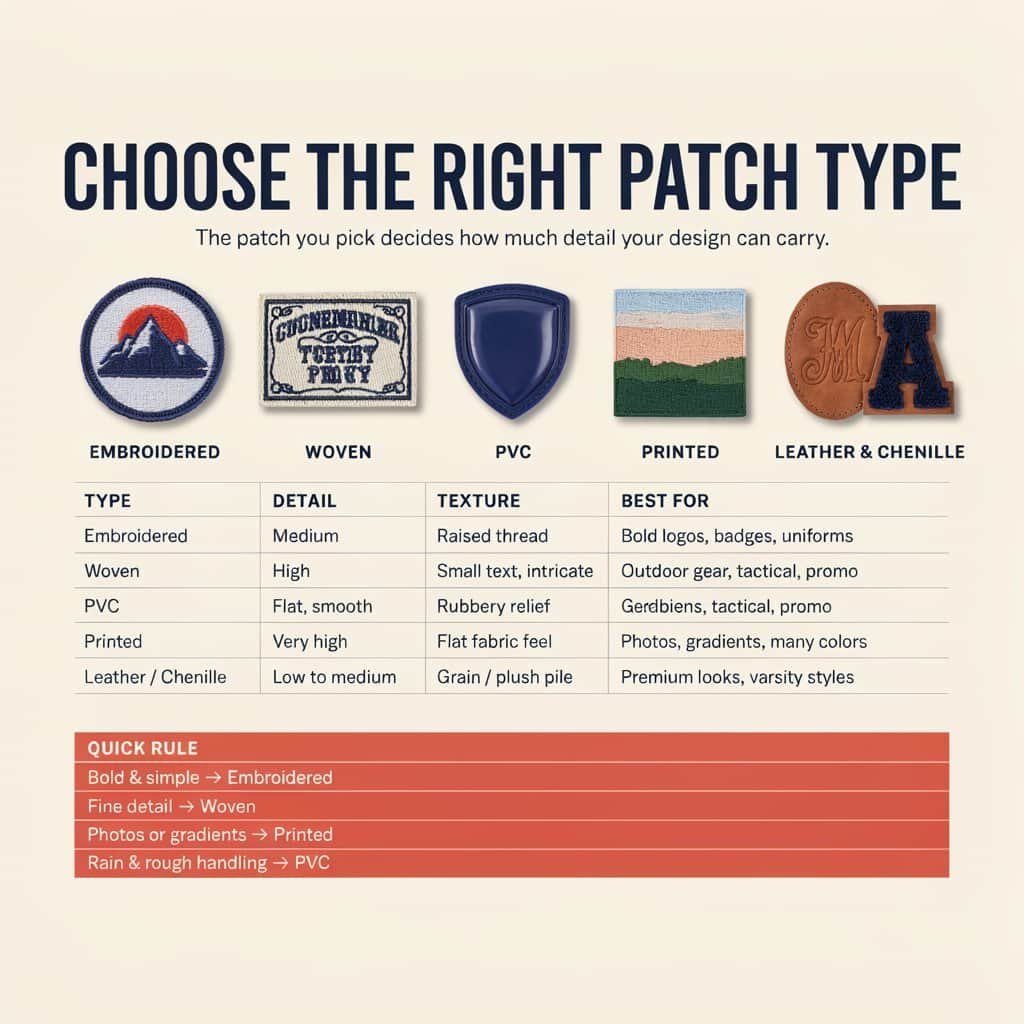
There are many different types of patches, and the one you pick decides how much detail your design can carry. Think of it as choosing a paintbrush before you start painting: a fat brush won’t draw a fine line.
| Type | Detail level | Texture | Best for |
|---|---|---|---|
| Embroidered | Medium | Raised, textured thread | Bold logos, badges, uniforms |
| Woven | High | Flat, smooth, low profile | Small text, intricate designs |
| PVC | Medium | Rubbery, 2D or 3D relief | Outdoor gear, tactical, promo |
| Printed | Very high | Flat, fabric feel | Photos, gradients, many colors |
| Leather / chenille | Low to medium | Grain / plush pile | Premium looks, varsity styles |
Embroidered patches are the all-rounder. They handle bold designs beautifully, though thread has physical thickness, so tiny text struggles. Most embroidered patches support up to around 12 thread colors.
Woven patches use finer thread on a loom, which is why they’re the go-to for small lettering and detailed artwork. Their flat weave sits close to the fabric for a sleek finish, and text can often go down to about 2 mm.
PVC patches are rubbery, waterproof, and tough, which makes them a favorite for outdoor and tactical gear. Printed (sublimated) patches can reproduce photographs and unlimited colors. Leather and chenille bring premium and varsity vibes, though chenille needs big, bold letters.
Quick rule: bold and simple, choose embroidered. Fine detail, choose woven. Photos or gradients, choose printed. Needs to survive rain and rough handling, choose PVC.
Step 2: Pick the Patch Size and Shape
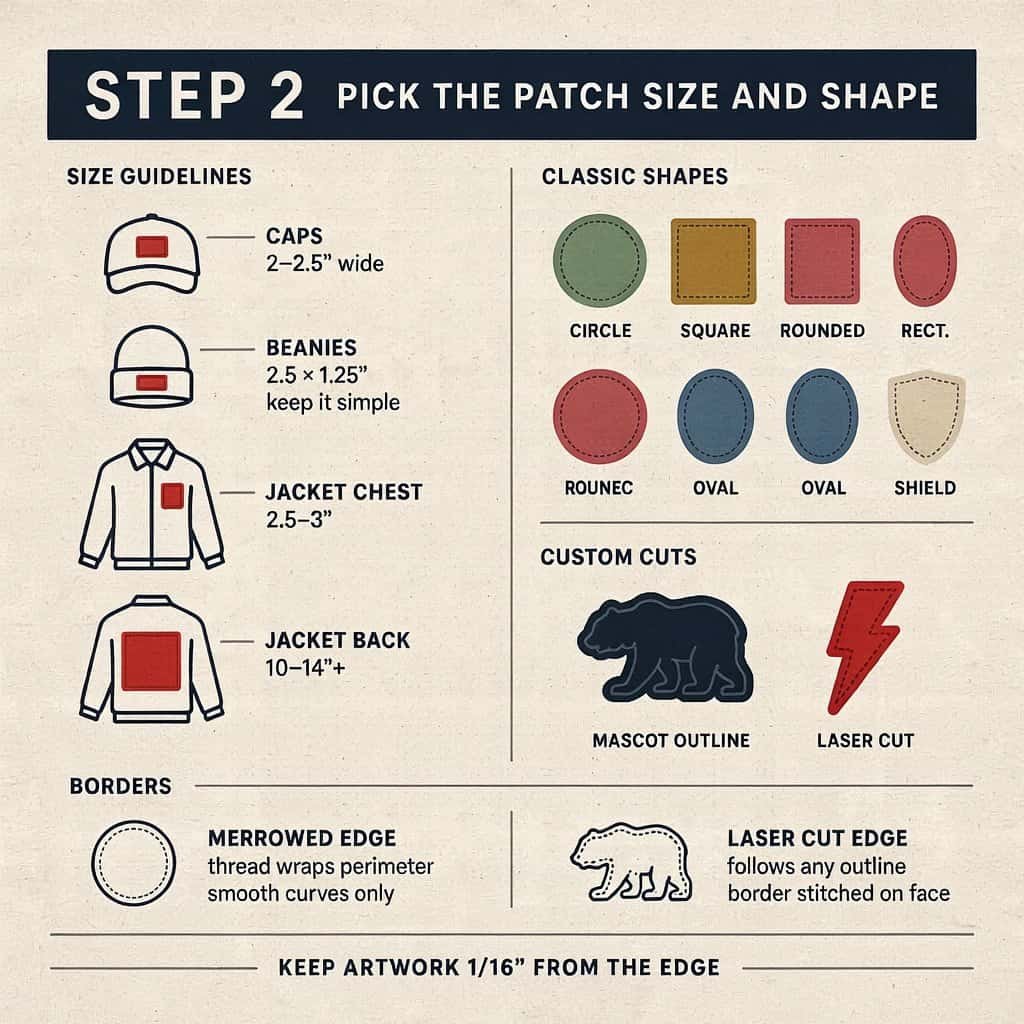
Patch size depends on where the patch will live. As rough starting points:
- Caps: roughly 2 to 2.5 inches wide
- Beanies: around 2.5 x 1.25 inches, so keep designs very simple
- Jacket chest: around 2.5 to 3 inches
- Jacket back: 10 to 14 inches, sometimes larger
These are guidelines, not laws, but oversized patches on small garments look awkward fast. Big patches (8 inches and up) can also feel stiff if fully embroidered, so consider leaving some fabric background exposed to keep them flexible. Before you commit, print your design at 100% actual size and see if it still reads.
Now for the fun part: patch shapes. Circles, squares, rounded rectangles, ovals, and shields are classic, cost-friendly choices. Custom cut shapes, such as a mascot outline, make your patch stand out on a crowded shelf, but they affect the edge finish.
Which brings us to borders. A merrowed edge wraps thread around the perimeter for that traditional look, but it needs smooth curves and can’t handle sharp inward angles. A laser cut edge can follow almost any outline, with the border detail stitched onto the patch face. Whichever you choose, keep artwork about 1/16 inch away from the edge.
Step 3: Simplify Your Artwork for Production
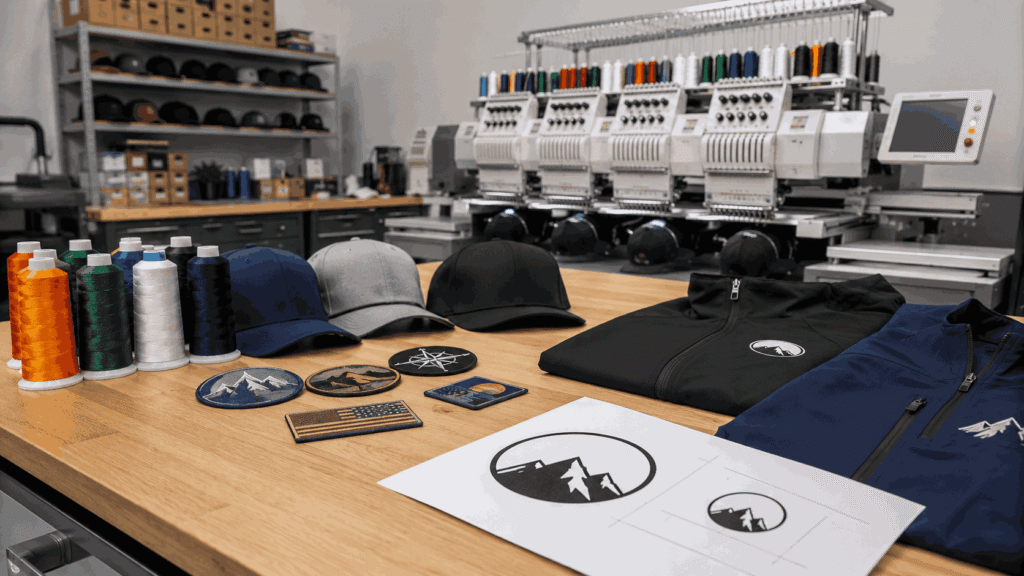
This is where most designs are won or lost. Embroidery is a mechanical process, so design for it.
- Text: For embroidery, keep letters at least 3 to 4 mm (about ⅛ inch) tall, and choose bold, open, sans-serif styles. Tall, narrow fonts tend to clog up.
- Lines: Keep strokes at least 1 mm wide. Hairlines either fatten up or vanish.
- Outlines: Thin black outlines between color areas can stitch up choppy. Thicken them, or drop them and let the colors do the separating, like paint by numbers.
- Connections: Elements scattered far apart force the machine to stop, trim, and restart, which raises the risk of defects. Keep things reasonably close.
- Space: Empty areas look flat when stitched, so enlarge elements rather than leaving big gaps.
A good test: hold your design at arm’s length and squint. If you can’t read it, neither can anyone else.
Step 4: Choose Colors That Work in Thread
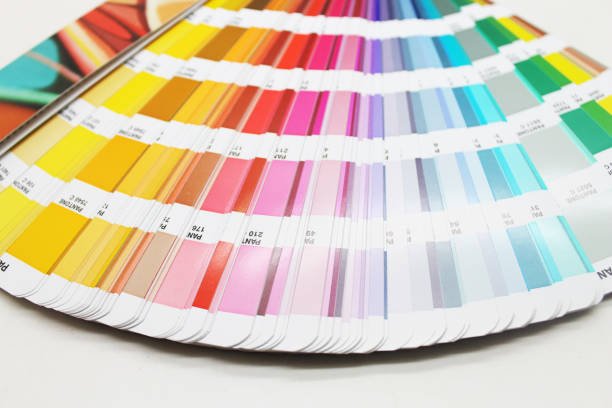
Colors behave differently in thread than on a screen.
Keep the palette tight. Fewer colors mean a cleaner design and often a lower price. Many makers include a set number of thread colors, so check the limit before you finalize.
Prioritize contrast. Dark on dark and light on light blur together. Oddly, pure black on white can cause coverage problems, so ask your manufacturer whether extra stitches are needed.
Use Pantone references. Screens lie. Giving exact color codes keeps your brand colors consistent, especially across repeat orders. If exact shades matter, ask for a thread chart, since a physical swatch beats any monitor.
Step 5: Select the Right Backing
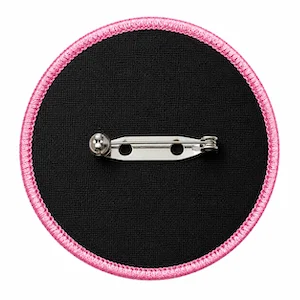
Backing decides how the patch attaches, and it’s easy to overlook.
| Backing | Permanence | Best for |
|---|---|---|
| Sew-on | Permanent | Uniforms, workwear, jackets |
| Iron-on | Semi-permanent | DIY, casual wear, kids’ clothing |
| Hook and loop | Removable | Tactical gear, swappable patches |
| Peel and stick | Temporary | Events, displays |
For retail and giveaways, iron-on is popular because customers can apply it at home. For anything washed constantly, sew-on wins. Not every backing suits every patch type (PVC, for example, generally isn’t iron-on friendly), so confirm compatibility.
Step 6: Prepare Your Artwork Files
Vector files (AI, PDF, SVG, EPS) are ideal because they scale cleanly. High-resolution PNG or JPG at 300 DPI also works. Outline your text to avoid font substitutions, and include your target dimensions and color references.
Don’t stress about perfection. Production teams usually redraw and digitize your design for the machine, so a clear brief matters most: patch type, size, quantity, backing, edge style, colors, and placement.
Step 7: Review the Proof and Approve a Sample
Treat approval as a real checkpoint, not a formality. Check the digital proof carefully for colors, text legibility, dimensions, edge, and backing. Double-check spelling too, because typos are the most expensive mistake to stitch.
For bulk orders or tight color requirements, ask for a physical pre-production sample. It adds a few days, but it costs far less than remaking an entire run.
Design for Bulk Orders and Resale
If you’re ordering in volume, a few extra choices pay off:
- Consistency: Save your approved digitized file and Pantone codes so reorders match the first batch.
- Price drivers: Size, stitch density, number of colors, custom shapes, and backing all influence unit cost.
- Retail readiness: Think about header cards, hang tags, and packaging early.
- E-commerce: Your patch must still read at thumbnail size in product photos.
- Timing: Factor in minimum order quantities and lead times ahead of launches and seasons.
- Originality: Use original artwork to steer clear of copyright and trademark trouble on resale items.
Common Mistakes (and Your Quick Checklist)
Learn from other people’s pain. Before you send anything to production, make sure you haven’t:
- Used text too small for the patch type
- Put gradients or too many colors on an embroidered design
- Paired a complex shape with a merrowed border
- Relied on hairline strokes and fine outlines
- Designed at screen scale without checking real size
- Submitted low-resolution source files
- Skipped the sample on a big order
Bring Your Patch Design to Life
Great patch design comes down to a few habits: pick the right type, respect the size and shape limits, keep the artwork bold and simple, and always check a proof before production. Nail those, and knowing how to make custom patches for clothing becomes less of a gamble and more of a repeatable process.
Ready to get started? Explore everything we offer at Pins personalizados únicos, or browse our medallas personalizadas if you’re also planning awards or commemorative pieces. Have a design in hand? Contact us to send your artwork and get a quote.
Preguntas frecuentes
What file format is best for a patch design?
Vector formats like AI, PDF, SVG, or EPS. High-resolution PNG or JPG works too.
What’s the minimum text size for embroidery?
Around 3 to 4 mm tall (about ⅛ inch). Woven patches can go smaller, near 2 mm.
How many colors can a patch have?
Embroidered and woven patches typically support around 8 to 12 thread colors, while printed patches can use unlimited colors. Confirm limits with your manufacturer.
Can I order without a finished design?
Often, yes. Many manufacturers can turn a sketch or rough concept into production-ready artwork.