Belt buckles aren’t just functional—they’re a bold way to express style, heritage, or brand identity. Whether you’re rocking western style belts and buckles at a rodeo, showcasing an extra large cowboy belt buckle as a statement piece, or creating branded merchandise for your e-commerce store, knowing how to put on a belt buckle can make all the difference. For traders, brands, e-commerce platforms, and retail buyers, custom belt buckles offer endless opportunities for personalization, from logo-engraved designs to promotional giveaways that turn heads.
In this friendly guide, we’ll break down everything you need to know: how do belt buckles work, the different types (including the popular detachable belt buckle), and simple methods for how to attach belt buckles or how to replace a belt buckle. We’ll cover quick no-tool techniques perfect for everyday swaps and more secure options for custom setups. By the end, you’ll be a pro—and you’ll see why custom designs from specialists like Unique are a game-changer for your business or personal collection.
Understand Belt Buckle Types
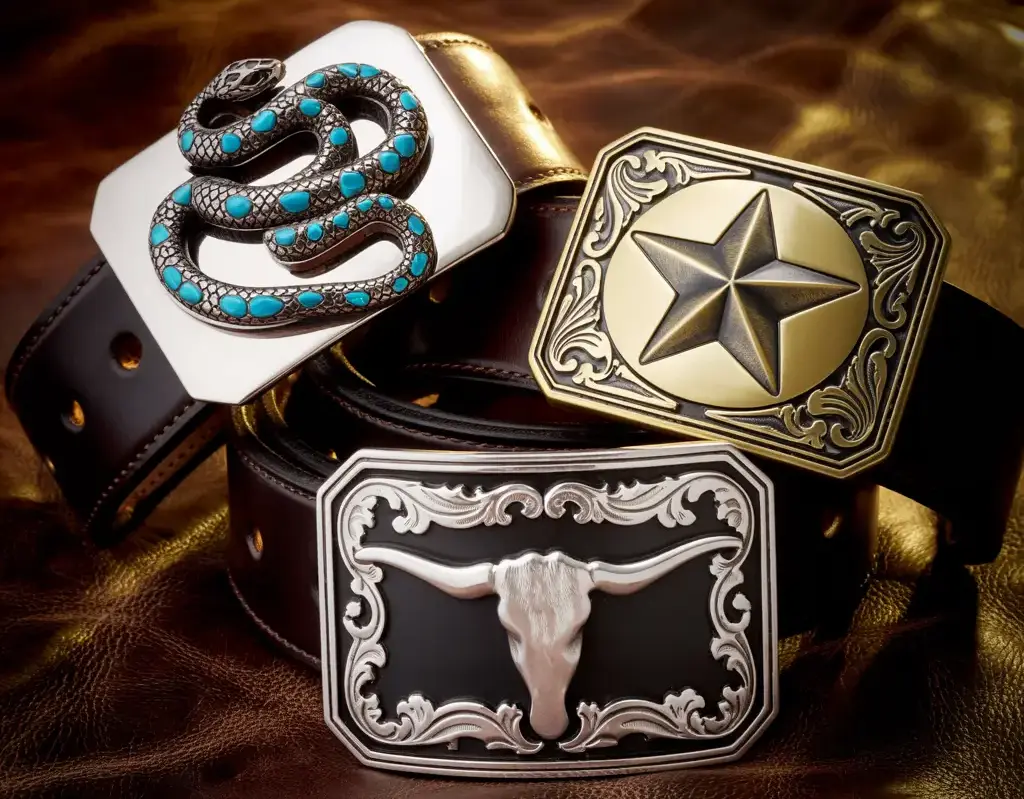
Before diving into how to wear a belt buckle, let’s get familiar with the main players. Belt buckles come in various styles, each with unique mechanics that explain how do belt buckles work.
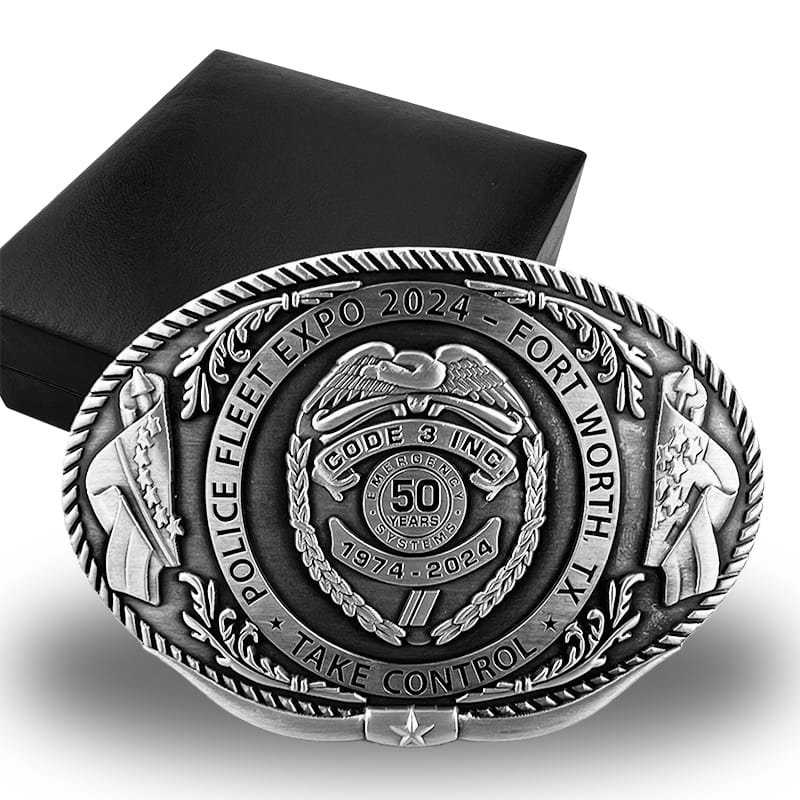
- Western/Trophy Buckles: These are icons of cowboy culture, often featuring a prong (tongue) that inserts into belt holes and a hook or hinge on the back to secure the leather. Trophy buckles are larger and more ornate, celebrating achievements or personal flair.
- Detachable Belt Buckle (Snap-On Style): Super convenient for quick changes! These use snaps or clips on the belt end, making it easy to swap buckles without tools.
- Chicago Screw-Fixed Buckles: More permanent, these use small screws for a rock-solid attachment—ideal for custom builds.
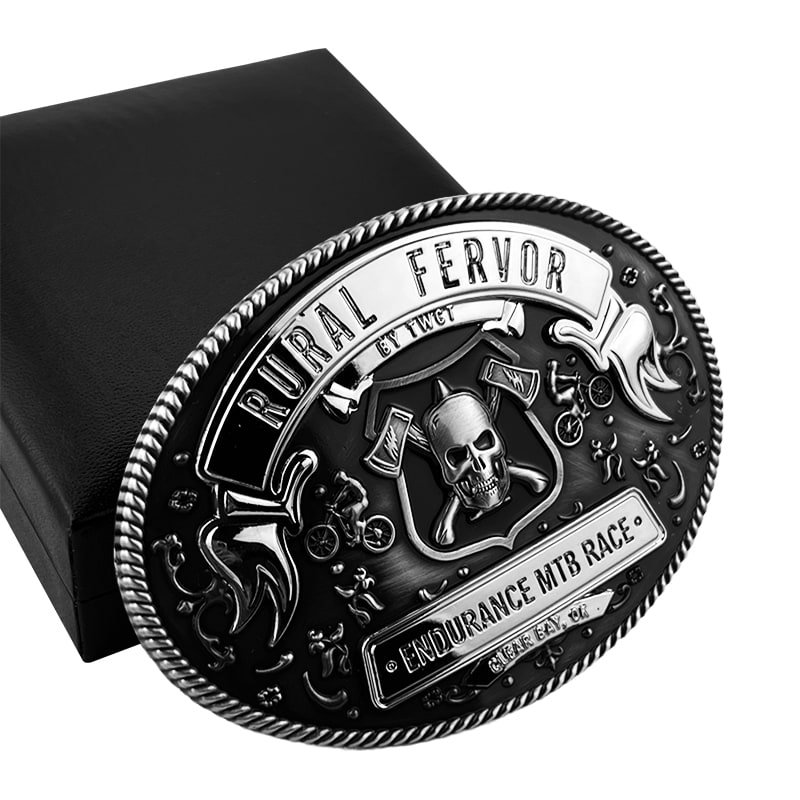
- Decorative and Custom Enamel Buckles: Often made from zinc alloy or brass, these can include soft enamel fills, 3D designs, or logos. They’re perfect for brands wanting something unique.
Compatibility is key: Most buckles fit 1.5-inch wide belts, but always check. For extra large cowboy belt buckle designs, a sturdy leather belt ensures it stays put without sagging.
Tools and Materials You’ll Need
Good news: Many methods for how to attach belt buckles require zero tools! For quick swaps on western style belts and buckles, just grab your belt and buckle.
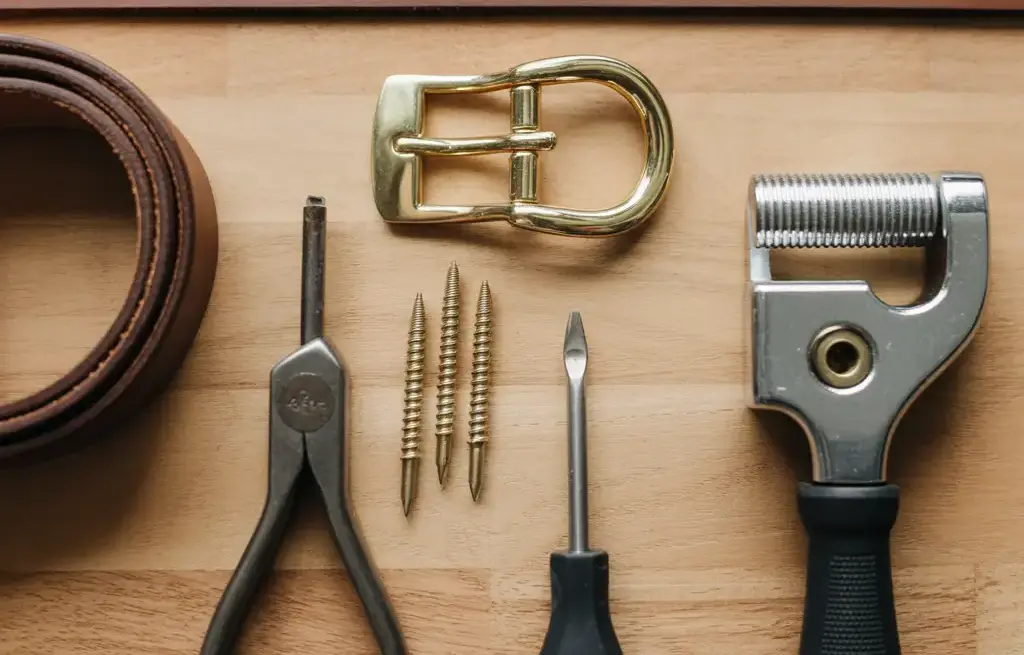
For more advanced or custom attachments (like building from a belt blank), you’ll want:
- A screwdriver (for Chicago screws)
- Rotary punch for holes
- Edge beveler or knife for finishing
- High-quality leather belt and durable buckle (zinc alloy or brass holds up best)
Pro tip: Invest in premium materials—custom buckles last longer and look sharper, especially for retail or branding.
Step-by-Step Guide: No-Tool Methods
This is the go-to method for most people wondering how to put on a belt buckle or how to replace a belt buckle quickly. It’s perfect for detachable belt buckle designs and classic western trophy styles. No fuss, no tools—just a minute or two!
- Prep Your Belt: If your belt has snaps (common for detachable ones), unsnap the end. For hook-style, thread the belt through your loops as usual.
- Slide or Hook the Buckle: Feed the belt end through the buckle’s back bar or hinge. For western buckles, the prong goes on top, and the hook folds over the belt layers to grip securely.
- Secure It: Fold the belt end over, ensuring the hook catches both layers. The friction and design hold everything in place.
- Adjust and Wear: Buckle up normally—the prong inserts into your favorite hole. Position the buckle front and center for that classic look.
This method works wonders for how to wear a belt buckle daily. It’s fun to swap out an extra large cowboy belt buckle for different outfits!
Tips for a secure fit: Ensure the buckle’s hinge is wide enough to avoid scratching your belt. If it’s loose, a quick dab of leather glue on the fold helps without permanence.
Advanced Method: Attaching with Chicago Screws
When you want a pro-level setup—especially for custom or from-scratch belts—this is your answer for how to attach belt buckles durably.
- Thread the Belt: Pass the belt end through the buckle’s back, aligning the prong with any pre-cut slot.
- Fold and Align: Fold the belt end back on itself, matching pre-punched holes (or punch your own).
- Insert Screws: Place Chicago screws through the holes and tighten with a screwdriver. Add a drop of thread locker (like Loctite) to prevent loosening.
- Measure and Finish: Wear the belt, mark your waist size, punch holes (about 1 inch apart), and trim the end for a clean look.
This creates a semi-permanent bond, great for heavy western style belts and buckles or branded items that see daily use.
Custom Belt Buckles: Why Go Personalized?
Now that you know how do belt buckles work and the best ways to attach them, imagine elevating your inventory with custom designs. For traders, brands, e-commerce platforms, and retail buyers, personalized buckles are goldmines: Think logo-engraved pieces for corporate events, enamel-filled designs for fan merchandise, or 3D motifs that scream uniqueness.
Custom options like soft enamel, antique plating, or even extra large cowboy belt buckle styles turn ordinary belts into branded statements. They’re durable, eye-catching, and versatile—no minimum order quantities mean even small runs are feasible.
At UniqueCustomPins, we specialize in high-quality custom belt buckles with free design support, fast production, and quality rivaling top brands. Whether you’re stocking western-inspired items or creating promotional swag, our team makes it easy and fun.
Common Mistakes to Avoid and Troubleshooting
Even pros slip up sometimes! Avoid these:
- Loose Fit: Always double-check the hook or screws—loose buckles shift and look sloppy.
- Scratching: Slide gently to prevent damage, especially on polished custom surfaces.
- Wrong Sizing: Measure from the fold to your go-to hole for perfect length.
Maintenance is easy: Wipe with a soft cloth, avoid water on enamel, and store flat. Your buckle will stay shiny for years.
Conclusion
There you have it—a complete, fun guide to how to put on a belt buckle, from quick snaps to screw-secured customs. Whether you’re mastering how to replace a belt buckle for daily variety or exploring detachable belt buckle options for versatility, these steps make it straightforward.
For brands and buyers, custom buckles open doors to exciting merchandising. Ready to create your own standout pieces? Head over to UniqueCustomPins for free quotes, no MOQ, and expert help turning ideas into reality. Let’s buckle up your style—or your business—today!
FAQs
What is the minimum order quantity (MOQ) for custom products like lapel pins or belt buckles?
We proudly offer no minimum order quantity (MOQ) across our entire range, including custom lapel pins, belt buckles, challenge coins, and keychains. Whether you’re a startup testing a small run or a large brand placing a bulk order, you can order as few as one piece with the same high-quality standards.
Do you provide wholesale pricing for bulk or repeat B2B orders?
Yes! We specialize in wholesale pricing for businesses, traders, e-commerce sellers, and resellers. Larger quantities qualify for significant tiered discounts, making our products ideal for merchandising, promotional giveaways, or retail inventory. Contact us for a customized quote based on your volume.
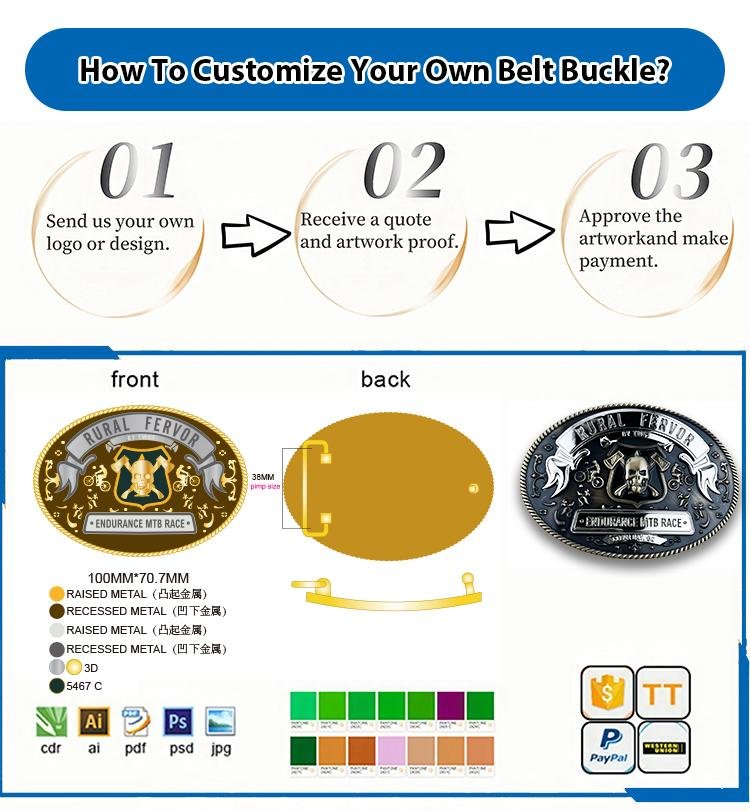
How does the custom design process work for businesses?
It’s simple and collaborative: Share your idea, logo, or artwork via our quote form or email. Our expert designers provide free digital proofs and 3D mockups with unlimited revisions until you’re completely satisfied. We support everything from simple logo engravings to complex 3D designs with enamel fills.
What is the typical production and delivery timeline?
Standard production takes about 15 days from design approval to delivery, with options for faster rush services. We guarantee on-time delivery and provide real-time tracking through our ERP system. DDP shipping ensures seamless worldwide delivery to over 120 countries.
What materials and quality standards can B2B clients expect?
Our products are crafted from premium materials like zinc alloy and brass, with options for soft/hard enamel, antique plating, and more. We’re ISO9001 and SEDEX 4P certified, with 200+ QC checkpoints, ±0.01mm precision, and full RoHS/REACH compliance. As official partners to Disney and LEGO, we deliver Fortune 500-level quality.