







Challenge coins have quietly become one of the most beloved collectibles in the military, law enforcement, and corporate world. But here’s the thing nobody talks about enough: a coin without a proper home is just… loose change with a story nobody sees. That’s where the humble coin holder comes in — and it’s a bigger opportunity than most people realize.
Whether you’re a trader scouting your next product line, a brand looking to add a premium touch to your challenge coin program, an e-commerce seller weighing a DIY military coin holder against a manufactured one, or a retail buyer trying to understand what you’re actually paying for — this guide walks you through exactly how these displays are made, what separates a good one from a great one, and when it makes sense to stop tinkering in the garage and start sourcing at scale.
What Is a Military Coin Holder, and Why Should You Care?
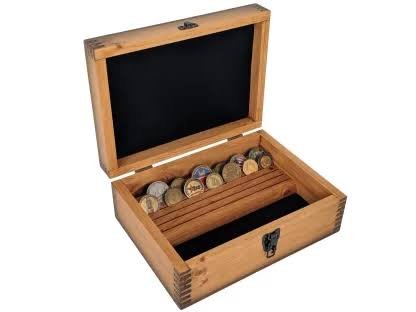
A military coin holder (also called a challenge coin display or coin rack) is simply a case or stand designed to hold, protect, and show off challenge coins. Think of it as the picture frame of the coin world — the coin is the star, but the holder is what makes people stop and look.
For collectors, it’s about preserving a piece of history. For brands and retailers, it’s something else entirely: a chance to turn a small metal token into a premium gift-worthy product. A well-designed display can transform a $5 coin into a $30 keepsake bundle. That margin difference is exactly why so many traders and brands are paying closer attention to this category right now.
Common formats you’ll see on the market include wooden slot-style racks, acrylic inlay cases, and metal or leather presentation boxes — each with different production costs, aesthetics, and target buyers.
Two Core Design Approaches to a DIY Coin Holder
Before diving into materials and tools, it helps to understand the two dominant design philosophies behind almost every homemade DIY coin holder out there. Real builders on woodworking forums have hashed this debate out extensively, and their trial-and-error is genuinely useful if you’re evaluating suppliers or considering a pilot production run.
Slot-Style Display
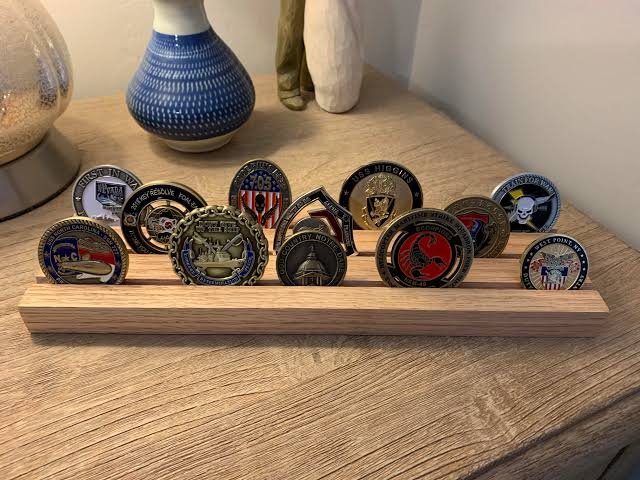
This is the classic tiered rack — a block of wood with angled channels cut across it, so coins slide in and lean upright in rows, like books on a shelf.
Why people love it: it shows both sides of the coin (since it’s simply resting in a groove, not glued down), and it scales easily. One builder explained it well when discussing his own project: his coins had different designs on the front and back — usually a unit name on one side and a motto on the other — so a slot-style rack let both sides stay visible. He also noted that adding more coins later just meant sliding another one into an existing row, rather than cutting a brand-new hole for it. Since coin thickness and diameter vary more than people expect, this “less restrictive” housing style tends to age better as a collection grows.
Best for: collector-style products, multi-coin sets, and any product line where the customer’s collection is expected to grow over time.
Inlay-Style Display
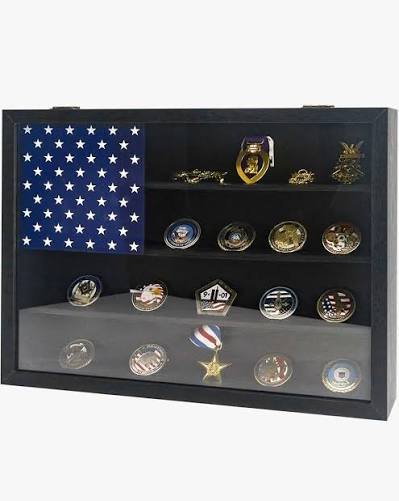
This method involves tracing the coin’s outline, routing out a shallow recess matching its exact shape, and securing the coin with double-sided tape or a press fit.
Why people love it: it looks polished and gallery-like — closer to what you’d see in a museum shadow box. It’s a strong option when you know the coin size and want a fixed, high-end presentation.
The trade-off: it only shows one face of the coin, and adding new coins means routing new holes each time. It also demands more precision, since even coins marketed as “the same size” can vary by a surprising margin.
| Feature | Slot-Style | Inlay-Style |
|---|---|---|
| Shows both sides | Yes | No |
| Easy to expand | Yes | No |
| Handles size variation | Yes | Needs precise fitting |
| Production difficulty | Lower | Higher |
| Best fit | Growing collections, gift sets | Fixed single-coin gifts, premium packaging |
How Military Coin Holders Are Actually Made
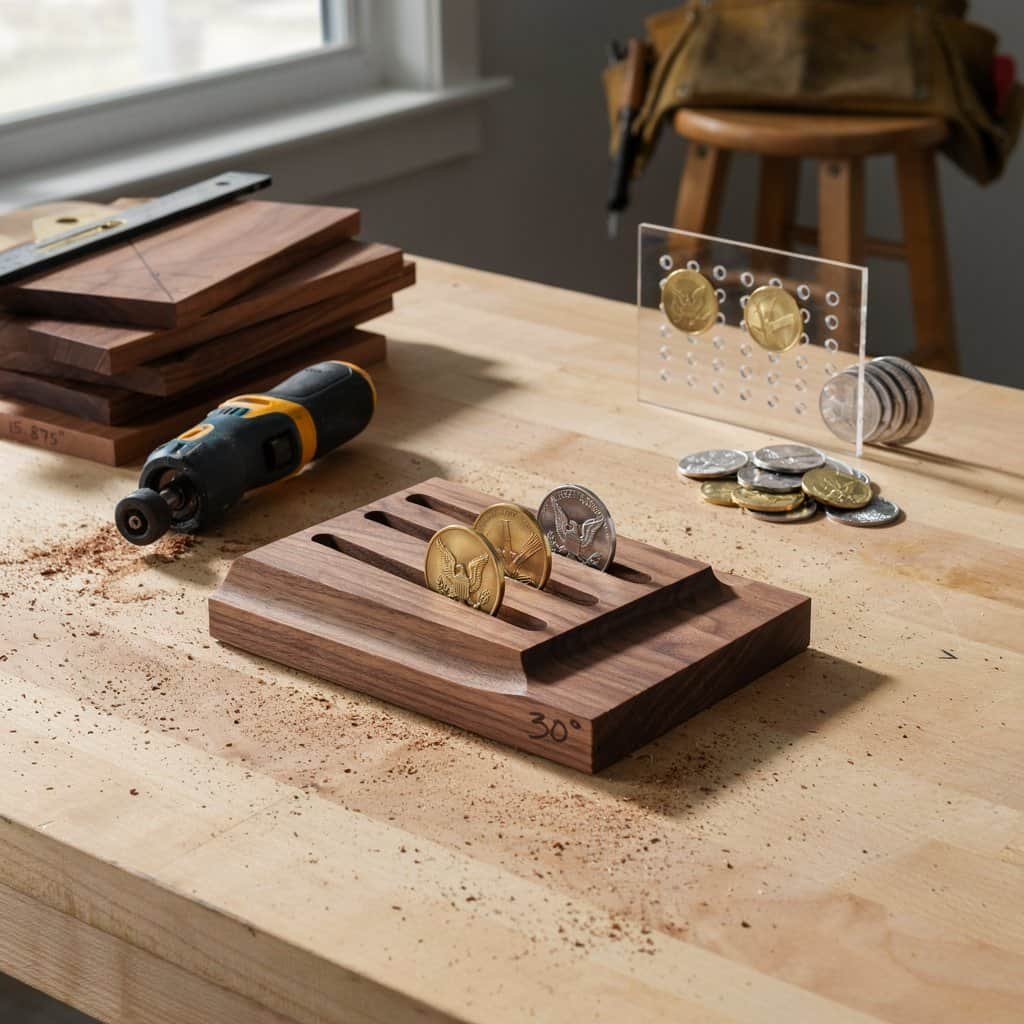
Now let’s get into the how. This is where a real DIY military coin display separates itself from a rough weekend project.
Wood-Based Production
Wood is by far the most common material for a homemade DIY coin holder, and for good reason — it’s affordable, easy to work with, and gives that warm, “made with care” feel that resonates with military and veteran audiences.
Two techniques dominate:
- Router-cut channels. A straight router bit is used to carve grooves into a board, typically after cutting the front edge at an angle (commonly around 30 degrees) so the coins lean back slightly instead of falling forward. This method is beginner-friendly and produces clean, consistent channels even without advanced equipment.
- Table saw angled slots. A more advanced technique where the blade is tilted (often around 15 degrees) and the board is passed through repeatedly, shifting the fence slightly between cuts to carve each slot. One experienced builder shared a lesson worth remembering for anyone attempting this: set your cutting depth once and don’t adjust it mid-project, or your rows will end up uneven. This method is faster for production runs but requires more saw confidence.
Common wood choices range from budget-friendly pine to more premium oak, cherry, or walnut — the latter giving a noticeably richer, retail-ready appearance.
Acrylic and Glass Sandwich Production
For a more refined, display-case look, some makers use clear or colored acrylic sheets, sometimes sandwiched between glass panels, with coins press-fit into precisely sized holes. This method is popular for single-coin gift displays and corporate recognition awards.
The tricky part? Coin diameters vary more than most people expect — even coins from the same order can differ by a fraction of a millimeter. Experienced makers solve this by creating a set of sizing templates in small increments, testing each coin against the templates to find its perfect fit before cutting the final hole. It’s a small extra step, but it’s the difference between a coin that pops out in transit and one that stays snug for years.
Finishing and Packaging Touches
Whichever base material you choose, the finishing steps matter just as much as the cutting:
- Sanding to remove rough edges
- Staining or sealing with a clear finish for durability and shine
- Adding felt or rubber pads to the base so the display doesn’t scratch surfaces or slide around
- For brands: laser engraving, embossed logos, or branded gift boxes to elevate the perceived value
DIY Small-Batch Production: What It Actually Takes
If you’re a trader or small brand considering testing a batch of coin holders yourself before committing to a supplier, here’s the honest breakdown.
What you’ll need: a router or table saw, sandpaper or a sander, wood stain or finish, basic measuring tools, and — if going the acrylic route — a laser cutter or CNC machine.
Time investment: even an experienced hobbyist typically spends one to two hours per unit once you include cutting, sanding, and finishing. That’s manageable for a handful of samples or gifts, but it adds up fast at scale.
Where DIY hits its ceiling: consistency. Hand-cut slots vary slightly from piece to piece, which is charming for a personal keepsake but a real problem if you’re trying to build a repeatable, sellable product line. There’s also no easy way to add branding, custom packaging, or material upgrades without significantly more tooling.
As a rule of thumb: DIY or local craftsman production works well for orders under about 10–20 units — think samples, gifts, or one-off collections. Beyond that, the math starts favoring a manufacturing partner who can guarantee consistency, turnaround time, and branding options.
When to Move from DIY to Custom Manufacturing
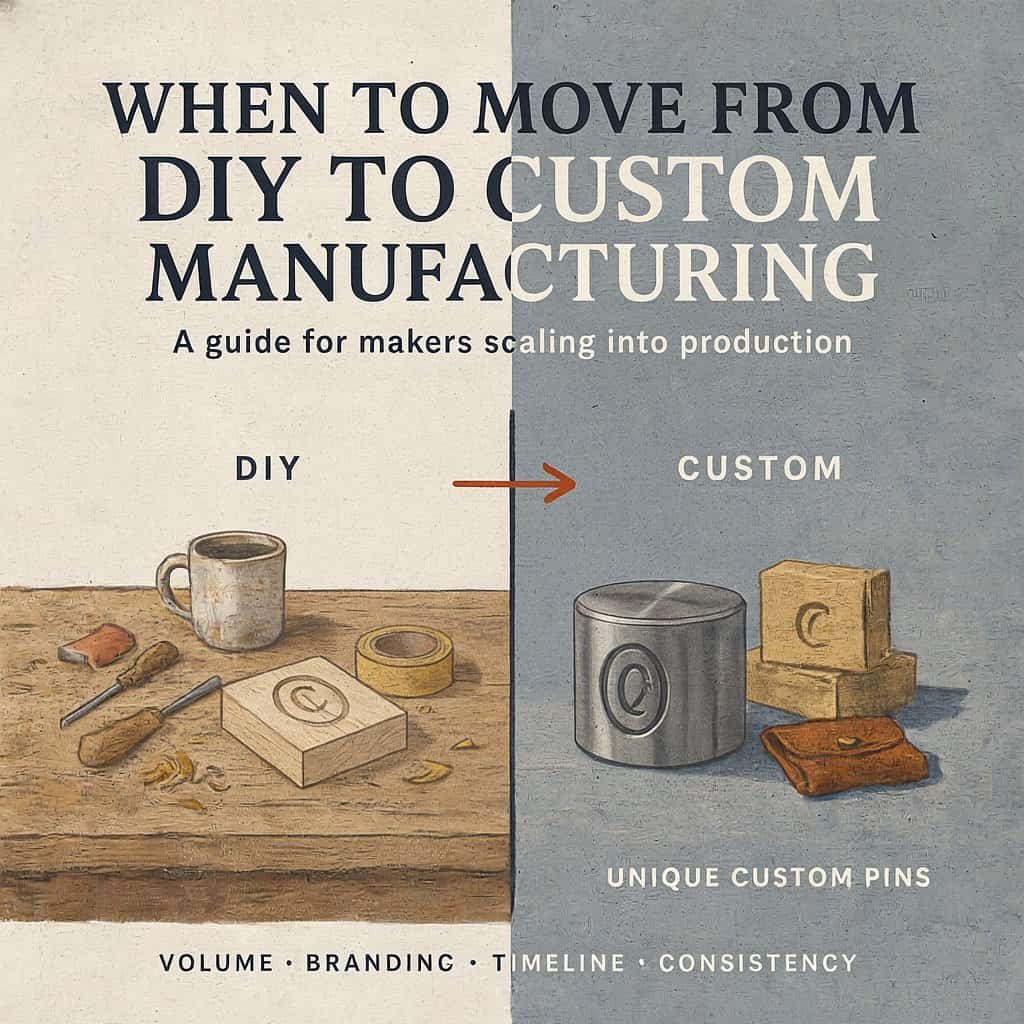
So how do you know when it’s time to stop cutting wood in the garage and start requesting quotes?
Ask yourself these questions:
- Volume: Are you fulfilling one order, or building a repeatable SKU?
- Branding: Does the product need your logo, custom colors, or packaging that matches your existing line?
- Timeline: Can you realistically hand-produce enough units to meet demand without delays?
- Consistency: Does your buyer expect factory-level uniformity, or is handmade character part of the appeal?
If your answers point toward scale, consistency, or branding, it’s time to bring in a manufacturing partner. A good custom coin holder supplier can offer material upgrades (metal, leather, premium acrylic), logo engraving, branded packaging, and — importantly for smaller brands and traders — low or no minimum order quantities, so you’re not stuck ordering thousands of units just to get a custom design.
That’s exactly the gap a partner like Unique Custom Pins fills: helping brands, traders, and retail buyers move from a rough concept or a DIY prototype to a polished, sellable product without the friction of massive MOQs or unpredictable lead times.
Conclusion
Building a DIY military coin display is a genuinely satisfying weekend project, and understanding the process — from slot-style versus inlay design to wood selection and finishing — gives you real insight into what you’re paying for, whether you’re sourcing samples or planning a full product launch.
But there’s a clear line between a great homemade DIY coin holder and a scalable, brand-ready product. Once volume, consistency, or branding enters the picture, partnering with an experienced manufacturer saves time, protects quality, and opens the door to customization options a garage workshop simply can’t match.
Ready to move beyond the prototype stage? Explore our custom military coin holder and challenge coin solutions — no minimum order required, and built for brands that want it done right the first time.
FAQs
What material is best for a military coin holder?
Wood is the most popular and cost-effective choice, with oak and walnut offering a premium look. Acrylic works well for a sleeker, glass-case aesthetic, while pine remains the budget-friendly option for beginners or samples.
How many coins does a standard coin display hold?
Most homemade DIY coin holder designs range from single-coin displays up to racks holding 20–30+ coins, depending on the number of slot rows and the size of the base board.
Can I customize a coin holder with my brand logo?
Yes — laser engraving, embossed branding, and custom packaging are all common upgrades once you move from a DIY prototype to a manufactured product.
What’s the minimum order quantity for custom coin displays?
This varies by supplier, but many modern manufacturers — including no-MOQ specialists — can accommodate small test batches as well as large bulk orders.
How much does it cost to manufacture coin holders in bulk?
Costs depend on material, finishing, and customization level, but bulk manufacturing generally brings the per-unit cost down significantly compared to one-off DIY production, especially once branding and packaging are factored in.